Christmas Crafts for Kids: 12 Makes by Age (Toddlers to Tweens)
Activities by Age Christmas Crafts Kids Crafts Preschool Toddlers Tweens
Christmas crafts for kids are the easiest win of December. A cleared table, a box of paper and glue, and an afternoon that ends with something on the tree instead of another hour of screen time. The trick, as always, is matching the project to the hands doing it. A two-year-old asked to fold a 3D snowflake will eat the glitter and leave; the same child will press cotton balls onto a Santa beard with total focus for twenty minutes. So this list is sorted by age, three makes per band, from toddlers to tweens. Every project uses cheap materials you probably own already, and every one ends with something worth keeping. If your child is ready for non-seasonal projects too, our paper crafts for kids pillar has fifteen more by the same age bands.
Why Christmas crafts work by age
The same rule runs through every project below: at two, the process is the product; at ten, the result has to earn its place on the mantelpiece. Toddlers are building hand strength and learning that glue sticks things together. Preschoolers are practicing scissors and following two or three steps in order. Six-to-eight-year-olds can measure, wait for things to dry, and care whether the tree actually stands up. Tweens want a project that looks like it came from a shop, and they will put in the patience to get it. Christmas is the perfect season for this ladder because the same materials - paper, card, salt dough, pinecones - stretch across every age, and the finished pieces have an obvious home: the tree, the window, or a grandparent's parcel.
The only supplies you need
One shallow box covers all twelve makes: white and colored paper or thin card, paper plates, child-safe scissors, a glue stick, crayons or markers, cotton balls, popsicle sticks, pipe cleaners, beads, flour and salt for dough, and ribbon or string for hanging. If the craft drawer needs a proper restock before December, our guide to the best art supplies for creative kids covers the versions that survive real children. Two ground rules save every session: cover the table with newspaper, and keep a damp cloth nearby for gluey fingers.
Ages 2-3: sticking, pressing, and first marks
At this age the session lasts about fifteen minutes, so keep the pieces big and do the cutting yourself. Your toddler does the sticking, pressing, and placing - and that is the whole craft.
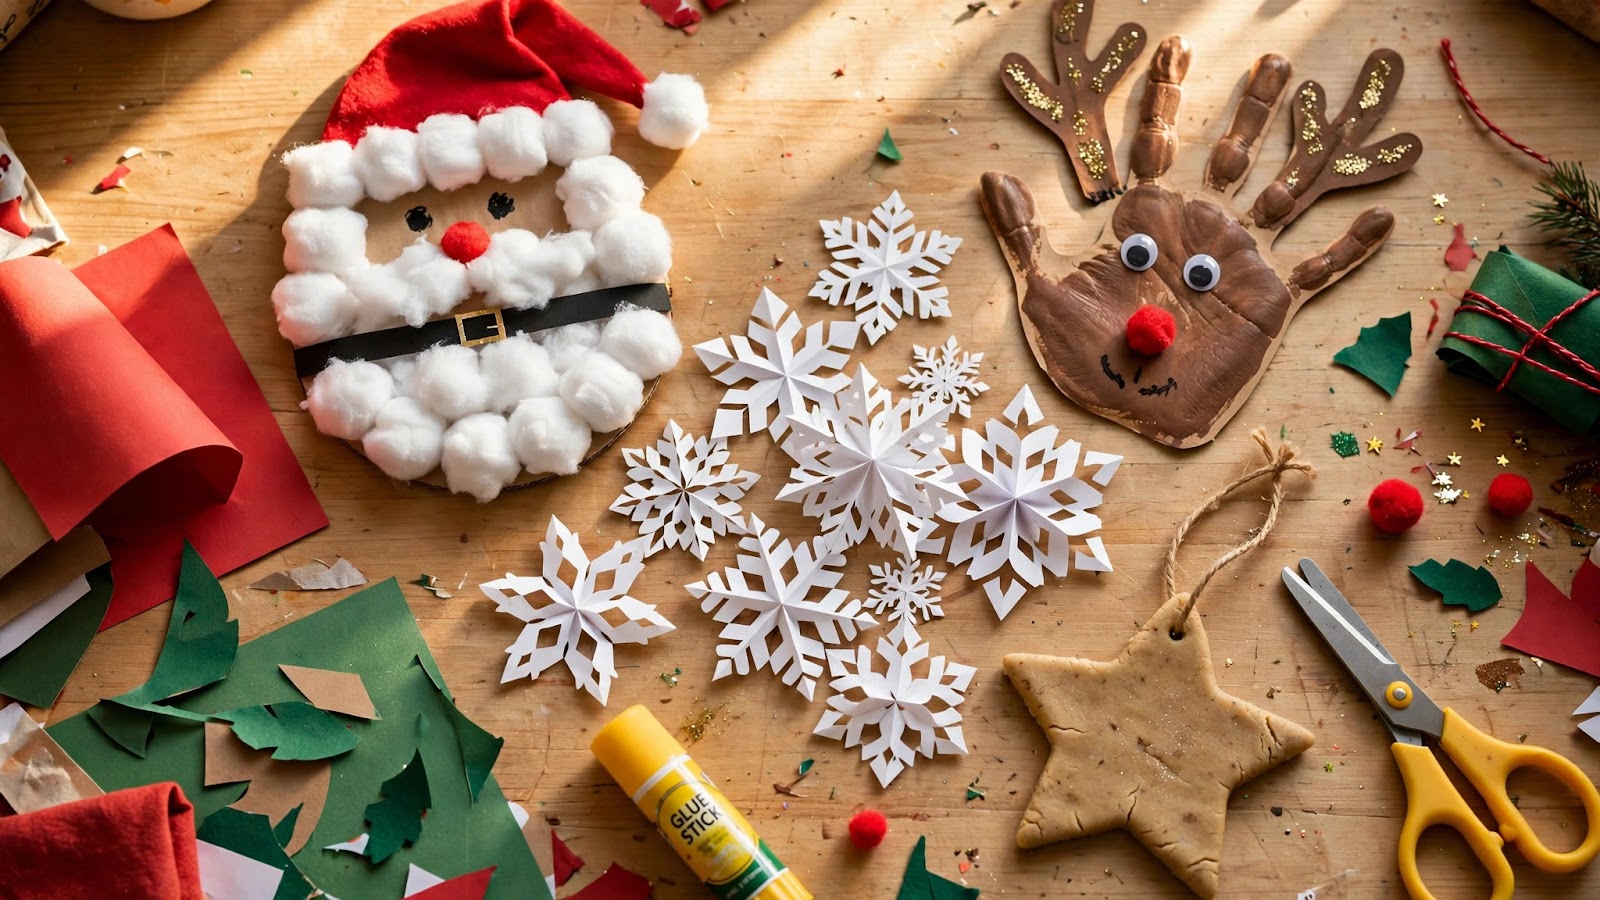
1. Cotton ball Santa beard
You need: a paper plate, pink and red paper, cotton balls, glue stick.
- Cut a paper plate face shape and glue on a red paper hat triangle at the top.
- Show your toddler how to pull cotton balls apart and press them along the bottom half of the plate.
- Add two paper eyes and a round nose. The beard is the activity, so let it take as long as it takes.
2. Fingerprint Christmas tree
You need: green and brown washable paint, white card, a small paintbrush.
- Paint a brown trunk rectangle at the bottom of the card, or let your toddler finger-paint it.
- Dip their fingertip in green paint and press dots in rows that get wider toward the bottom - that is the tree.
- Once dry, add a yellow star sticker on top. Fingerprints make every tree genuinely one of a kind.
3. Torn-paper Christmas tree collage
You need: green tissue or colored paper, a large sheet of white card, glue stick.
- Tear green paper into small pieces together - tearing is the activity, so do not rush it.
- Draw a big triangle on the card as a loose guide.
- Your toddler glues pieces anywhere inside the triangle, then sticks on paper dots as baubles.
Ages 4-5: cutting practice with a payoff
Preschoolers want real tools and a finished thing to show for it. These three projects put scissors in their hands with forgiving shapes, and every cut produces a decoration they keep.
4. Paper plate Santa
You need: a paper plate, red and white paper, cotton balls, glue, marker.
- Glue a red paper band across the top third of the plate for Santa's hat, with a cotton ball pom-pom on the end.
- Stick cotton balls along the bottom edge for the beard - a full, fluffy one.
- Draw eyes and a rosy nose in the middle, then hang it by a ribbon threaded through the top.
5. Handprint reindeer
You need: brown paper, red pom-pom, googly eyes or paper eyes, glue, scissors.
- Trace your child's hand on brown paper and cut it out - the fingers become antlers.
- Cut a simple reindeer face shape from the same paper and glue the handprint behind it as the antlers.
- Stick on a red pom-pom nose and two eyes. Date it on the back; grandparents keep these for years.
6. Simple paper snowflakes
You need: white paper or coffee filters, child-safe scissors.
- Fold a square of paper in half, then in half again, into a small triangle.
- Your child snips small triangles and curves out of the folded edges - no wrong answers here.
- Open it up slowly to reveal the snowflake, then tape a batch to the window.
Ages 6-8: measuring, making, and real ornaments
By six, Christmas crafts for kids get serious: children can follow multi-step instructions, wait for paint to dry, and care about whether the ornament actually survives hanging on the tree. Measuring, mixing, and testing are the same thinking behind good STEM learning kits for children, at a fraction of the cost.
7. Salt dough ornaments
You need: 2 cups plain flour, 1 cup table salt, 1 cup water, cookie cutters, a straw, paint, ribbon.
- Mix the flour, salt, and water into a firm dough, then roll it out about 1 cm thick.
- Cut stars, trees, and gingerbread shapes, and poke a hanging hole near the top with a straw.
- Bake at 120 C (250 F) for about 2 hours until hard, cool completely, then paint and thread with ribbon. They keep for years in a box.
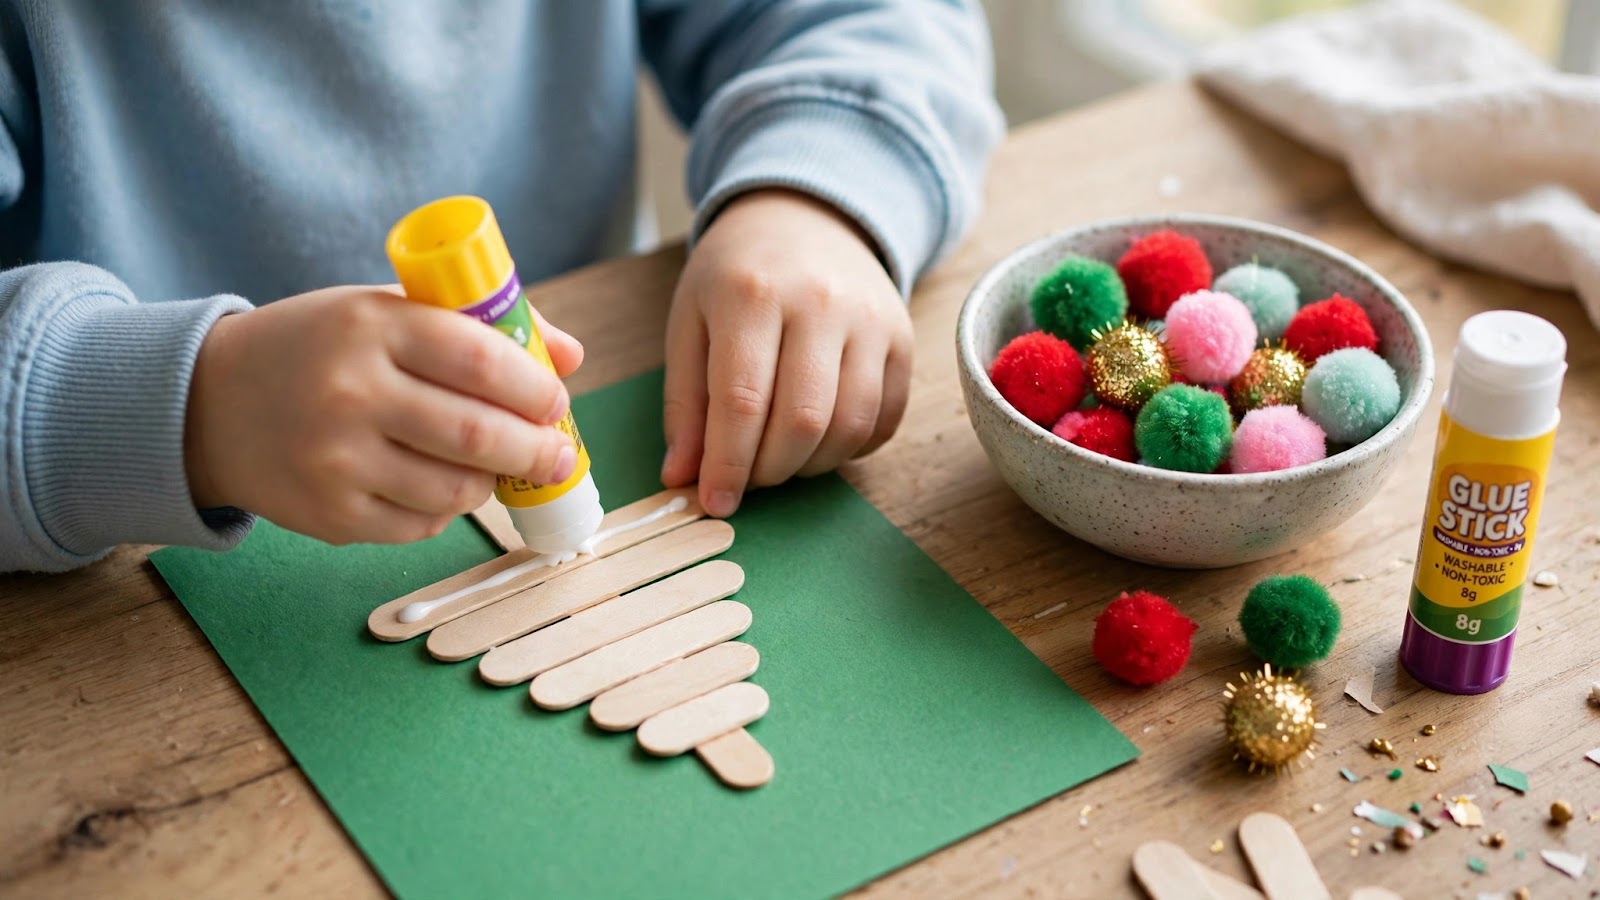
8. Popsicle stick Christmas tree
You need: green popsicle sticks (or plain ones painted green), glue, small pom-poms, a star sticker, ribbon.
- Glue three sticks into a triangle - two long sides and a short trunk at the bottom.
- Glue shorter sticks across the triangle as branches, or just decorate the triangle outline.
- Stick pom-poms on as baubles, add a star on top, and glue a ribbon loop on the back for hanging.
9. Pinecone reindeer
You need: pinecones, brown pipe cleaners, googly eyes, red pom-poms, glue.
- Pick a pinecone that sits flat and brush off any loose bits - the wider end is the reindeer's body.
- Twist two pipe cleaner pieces into antlers and glue them into the top of the pinecone.
- Glue on two eyes and a red pom-pom nose at the narrow end. A whole herd takes one afternoon.
Ages 9-12: projects that earn wall space
Older kids reject anything babyish, so these projects are genuinely skillful: they take patience, the results look impressive, and two of them become gifts.

10. 3D paper snowflakes
You need: six square sheets of white paper per snowflake, scissors, glue or a stapler, string.
- Fold each square into a triangle, cut three slits from the folded edge toward the point, then unfold and roll the strips into tubes, gluing each one in place.
- Repeat for all six sheets - accuracy matters, so measure and crease carefully.
- Glue the six arms together at their bases and hang with string. One snowflake takes about twenty minutes; a cluster looks like a shop window.
11. Beaded candy cane ornaments
You need: red and white pipe cleaners, red and white beads, ribbon.
- Thread beads onto a pipe cleaner, alternating red and white, leaving about 3 cm bare at each end.
- Twist the ends closed so the beads stay put, then bend the top into a candy cane hook.
- Twist a second pipe cleaner around the first in a spiral for stripes, and tie on a ribbon loop.
12. Pop-up Christmas card
You need: two sheets of card, scissors, glue, markers or colored pencils.
- Fold one card in half and cut two short parallel slits into the fold.
- Open it, push the strip between the slits inward, and crease - that is the pop-up tab.
- Glue a drawn Christmas tree or snowman to the tab, glue this card inside the second sheet, and decorate the front. It beats any shop card, and it costs almost nothing.
Tips that save the session
Safety first. Toddlers get glue sticks and blunt scissors only; anything sharp, hot, or small enough to swallow stays an adult job. Salt dough is not for eating - the salt content makes it unsafe - and painted ornaments need a full day to dry before they go in a gift box. Control the mess, not the child. Newspaper on the table, aprons or old shirts, and a scrap bowl for offcuts keep the clean-up to five minutes. Respect the drying time. Salt dough takes two hours in the oven and paint takes an afternoon; plan the decorating for the next day rather than rushing wet ornaments onto the tree. Let it be theirs. A crooked star made by a six-year-old beats a perfect one made by a parent every single time - the point is the making, not the mantelpiece.
Frequently asked questions
What is the easiest Christmas craft for a toddler?
The cotton ball Santa beard. There is no cutting for the child to do, nothing that has to look a particular way, and the finished piece is instantly recognizable. Fingerprint trees are a close second for the same reason: press, done, proud.
How long do salt dough ornaments last?
Years, if they are baked until fully hard and stored dry. Paint them after baking, add a coat of clear varnish or hairspray if you have it, and keep them in a box with tissue paper between layers. Damp storage is what kills them, not age.
Can these crafts be done in a classroom?
Yes - the toddler and preschooler projects scale to a whole class with almost no extra prep, since the materials are paper, plates, and cotton balls. Salt dough works for a class too if the teacher bakes the batch at home overnight and the children paint the next day.
What age can children use scissors for crafts?
Most children manage child-safe scissors from around age four with supervision, starting with straight snips before shapes. Under four, adults do the cutting and children do the tearing, sticking, and pressing. Scissor skill grows fast once they practice on forgiving projects like paper snowflakes.
Make it, hang it, gift it
Twelve makes, four age bands, one box of supplies - and a tree that actually looks like your family made it, because they did. Start with the project that matches your child's hands today and move up the ladder as the snipping and folding get easier. The ornaments that survive are the ones with a date on the back, so write the year on every piece before it goes in the box. And if the craft box runs dry before the school holidays end, our roundup of the top Christmas toys for 2026 covers what to put under the tree once the making is done. Next in this series: Mother's Day and Father's Day cards kids can actually make.