Paper Crafts for Kids: 15 Easy Projects by Age (Toddlers to Tweens)
Activities by Age Kids Crafts Paper Crafts Preschool Toddlers Tweens
Paper crafts for kids are the cheapest win in any parent's week. No batteries, no setup beyond a cleared table, and the main ingredient is probably already in your printer tray. The trick is picking a project that matches your child's hands, not just their age on paper - a two-year-old who is asked to fold origami will hand you a crumpled ball and wander off, while the same child will tear paper strips with total focus for twenty minutes. So this list is sorted by age and by the skill each project actually practices. Start where your child is, and move up when the snipping and folding start to look easy.
Why paper punches above its weight
Every project below is quietly training something. Tearing and scrunching build the hand strength a child needs before handwriting. Cutting along a line is bilateral coordination - one hand holds, one hand cuts, and the brain runs both. Folding teaches sequencing: do step two before step three, or the frog does not jump. None of this needs a worksheet, and because paper costs almost nothing, a failed attempt is not a wasted purchase. It is just the first draft, and it goes straight in the recycling.
The only supplies you need
Keep a shallow box stocked and you are ready for every project on this page: white and colored paper or thin card, child-safe scissors, a glue stick (far less mess than liquid glue), crayons or markers, a ruler, and a handful of paper plates and brown paper bags. If your craft drawer needs a proper restock, our guide to the best art supplies for creative kids covers the versions that survive real children. Two ground rules save every session: a scrap bowl for offcuts, and a damp cloth for gluey fingers.
Ages 2-3: tearing, sticking, and first snips
At this age the process is the product. Expect short sessions, offer big pieces, and do the tricky cutting yourself while they do the tearing, placing, and pressing.
1. Torn-paper rainbow collage
You need: colored paper, a large sheet of white card, glue stick.
- Tear colored paper into small pieces together - tearing is the activity, so let it take its time.
- Draw a fat rainbow arc on the card as a loose guide.
- Your toddler glues pieces anywhere inside the arcs. Aim for coverage, not accuracy.
2. Sticker-trail snail
You need: a paper plate, dot stickers or small paper circles, glue, crayons.
- Draw a big spiral on the plate - this is the snail’s shell.
- Your child sticks dots along the spiral line, following it round and round.
- Add a paper head and a smiley face. Following the line is early pre-writing practice in disguise.
3. Giant paper sun
You need: yellow and orange paper, a paper plate or card circle, glue.
- Cut or tear long strips for rays - toddlers can tear the shorter ones.
- Glue the strips around the back edge of the circle, sticking out like rays.
- Flip it over, draw a face, and hang it at toddler height.
Ages 4-5: cutting practice with a payoff
Preschoolers want real tools and a finished thing to show for it. These projects put scissors in their hands with forgiving shapes, and every cut produces something they keep.
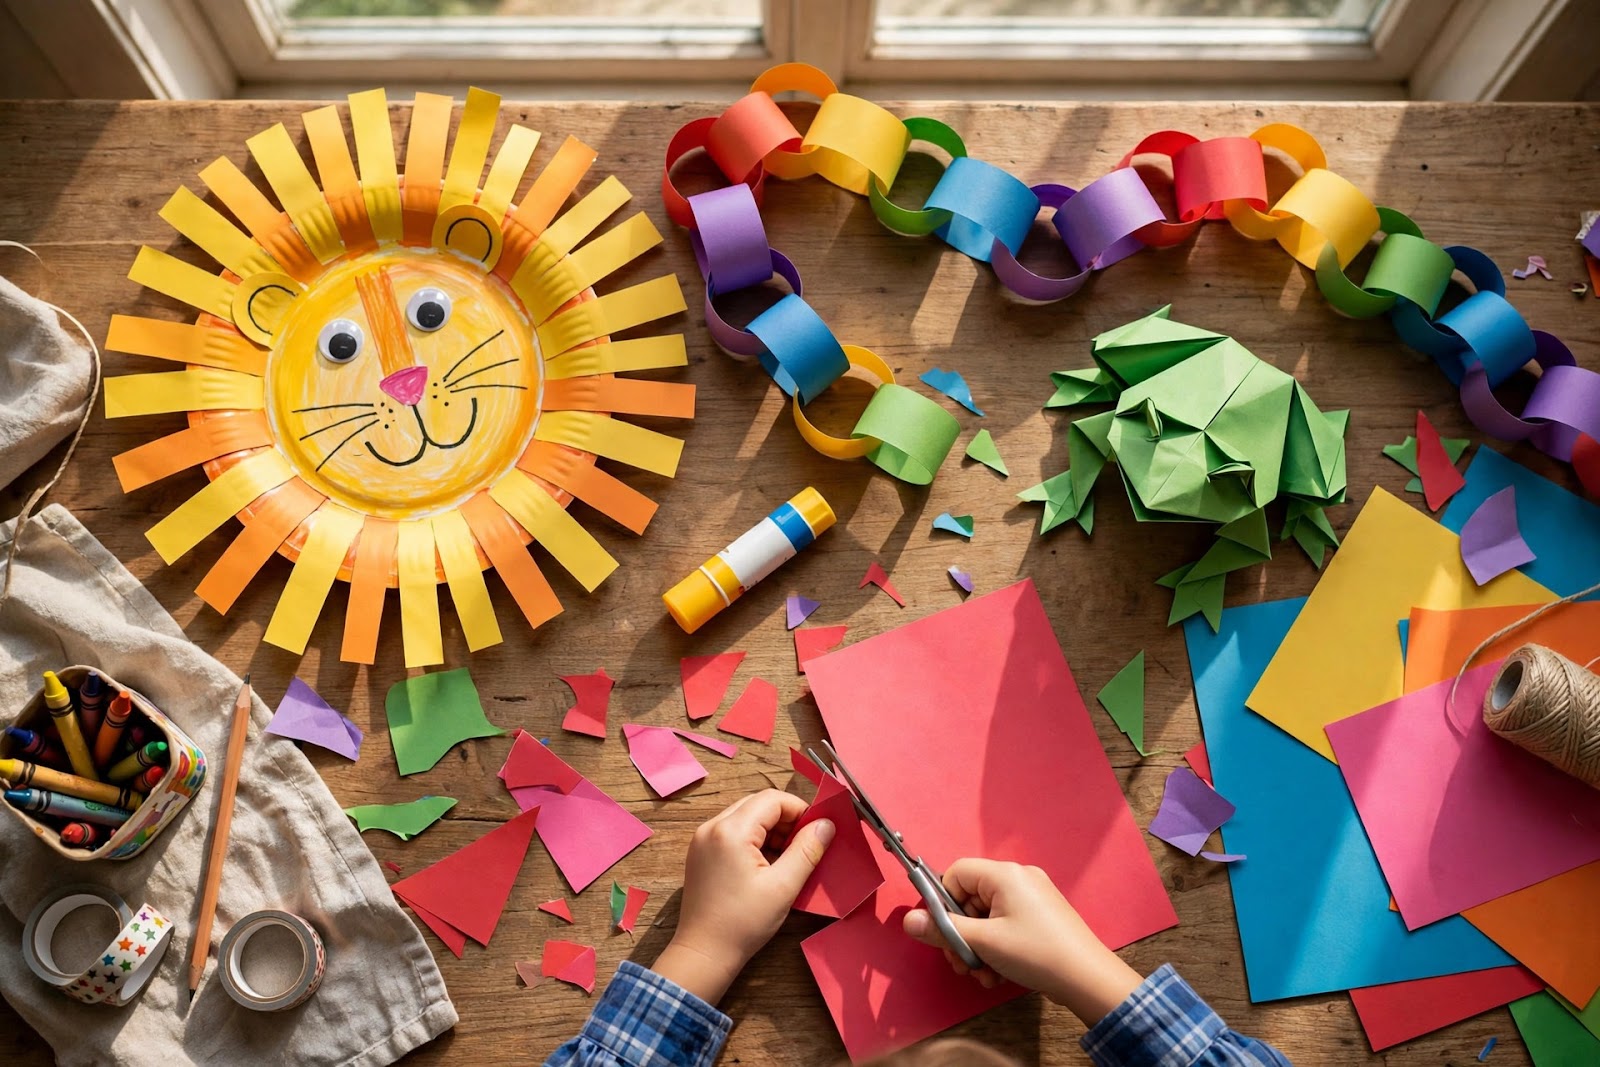
4. Paper plate lion
You need: a paper plate, yellow and orange paper or paint, glue, marker.
- Color or cover the plate yellow for the lion’s face.
- Cut a fringe all around the rim, snip by snip - this is the mane, and it is wonderful scissor practice.
- Draw on eyes, nose, and whiskers, then ruffle the fringe outward.
5. Paper bag owl puppet
You need: a brown paper bag, white and colored paper, glue, crayons.
- Cut two big white circles for eyes and two smaller colored ones; glue them on the bag’s flap.
- Add a triangle beak and feather shapes down the front.
- Slip a hand inside and the flap becomes a talking mouth - expect a puppet show at dinner.
6. Paper chain caterpillar
You need: green paper strips, glue or a stapler (adult job), marker.
- Glue one strip into a loop. Thread the next strip through and glue it too.
- Keep chaining until the caterpillar is as long as your child is determined.
- Draw a face on the first loop and add paper feelers. Counting the loops sneaks in early maths.
7. Handprint flower bouquet
You need: colored paper, green straws or sticks, glue, scissors.
- Trace your child’s hand and cut it out - the fingers become petals.
- Curl each finger gently around a pencil so the petals open.
- Glue the hand to a straw stem, make five or six, and tie the bunch with ribbon - a gift grandparents actually keep.
Ages 6-8: folding, weaving, and first engineering
By six, paper crafts for kids get ambitious: children can follow multi-step instructions and care about whether the thing actually works. Paper becomes a building material - a folded bridge that holds coins is genuine engineering, the same thinking behind the projects in good STEM learning kits for children, at a fraction of the cost.
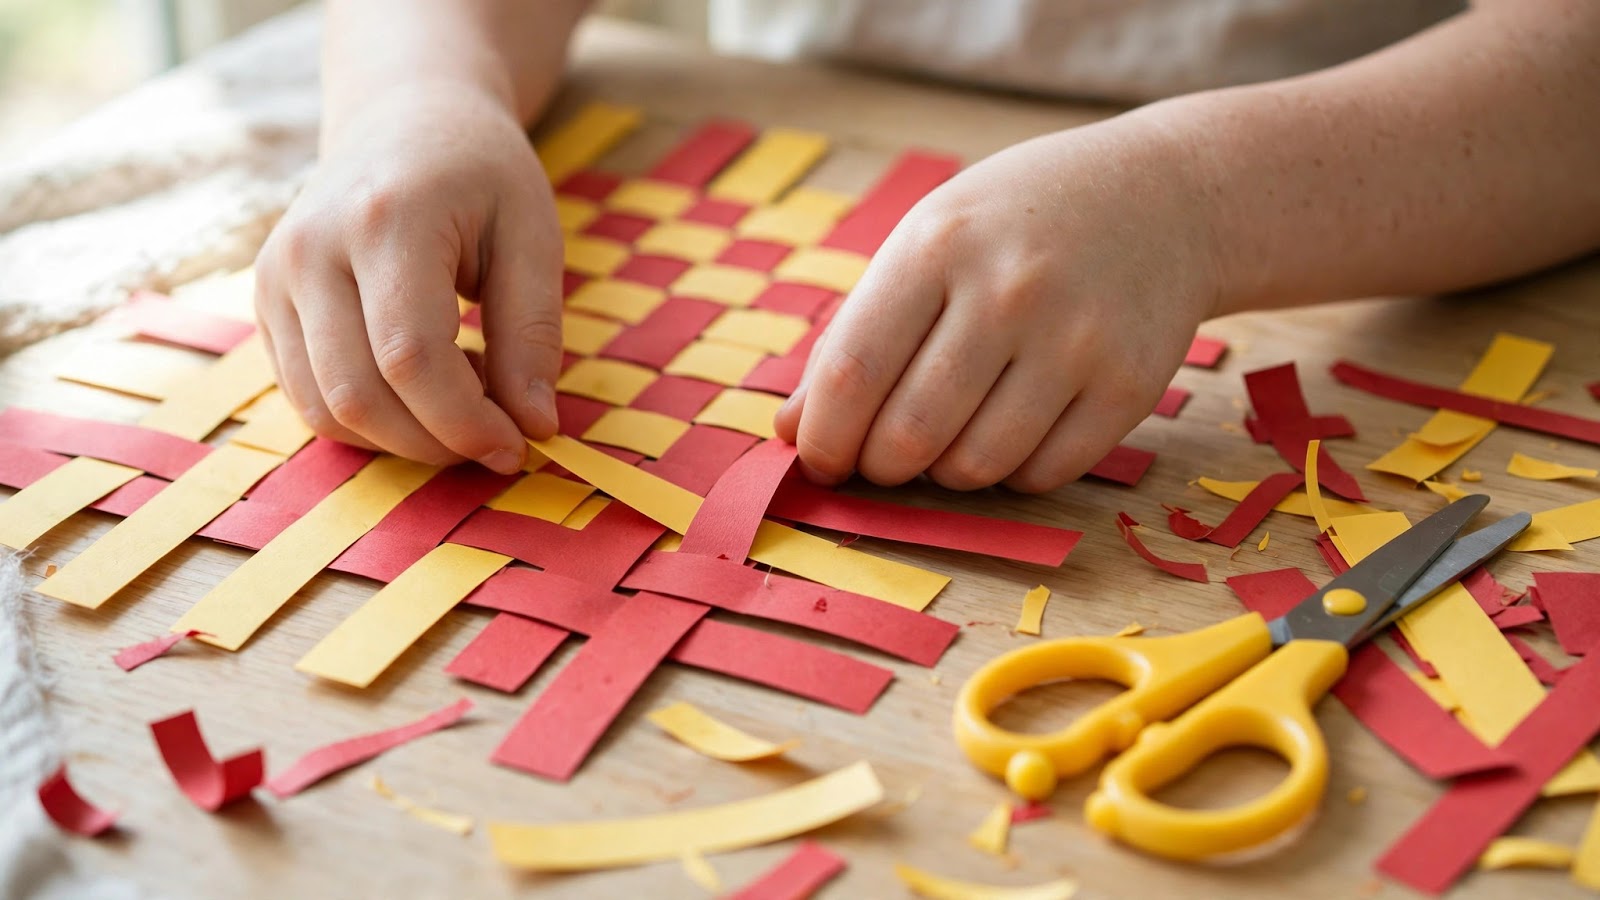
8. Woven paper placemat
You need: two contrasting colors of paper, ruler, scissors, glue.
- Fold one sheet in half and cut slits from the fold, stopping 2 cm from the edge.
- Cut the second sheet into strips and weave them over-under through the slits.
- Glue the strip ends down. The over-under pattern is real concentration training.
9. Paper bridge challenge
You need: sheets of paper or thin card, two books, a cup of coins.
- Rest a flat sheet across the books and pile on coins - it collapses fast.
- Now fold a sheet into an accordion, or roll tubes, and test again.
- Record which design holds the most. Folding creates strength, and they just proved it themselves.
10. Pop-up greeting card
You need: two sheets of card, scissors, glue, markers.
- Fold one card in half and cut two short parallel slits into the fold.
- Open it, push the strip between the slits inward, and crease - that is the pop-up tab.
- Glue a drawn character to the tab, glue this card inside the second sheet, and decorate.
11. Paper spinners
You need: card circles, string, crayons.
- Decorate both sides of a card circle with bold patterns or two halves of one picture.
- Punch two holes in the center and thread string through, tying a loop on each side.
- Wind it up and pull - the patterns blur into new colors, a first taste of optical illusion.
Ages 9-12: projects that earn wall space
Older kids reject anything babyish, so these projects are genuinely skillful: they take patience, the results look impressive, and two become gifts or room decor.
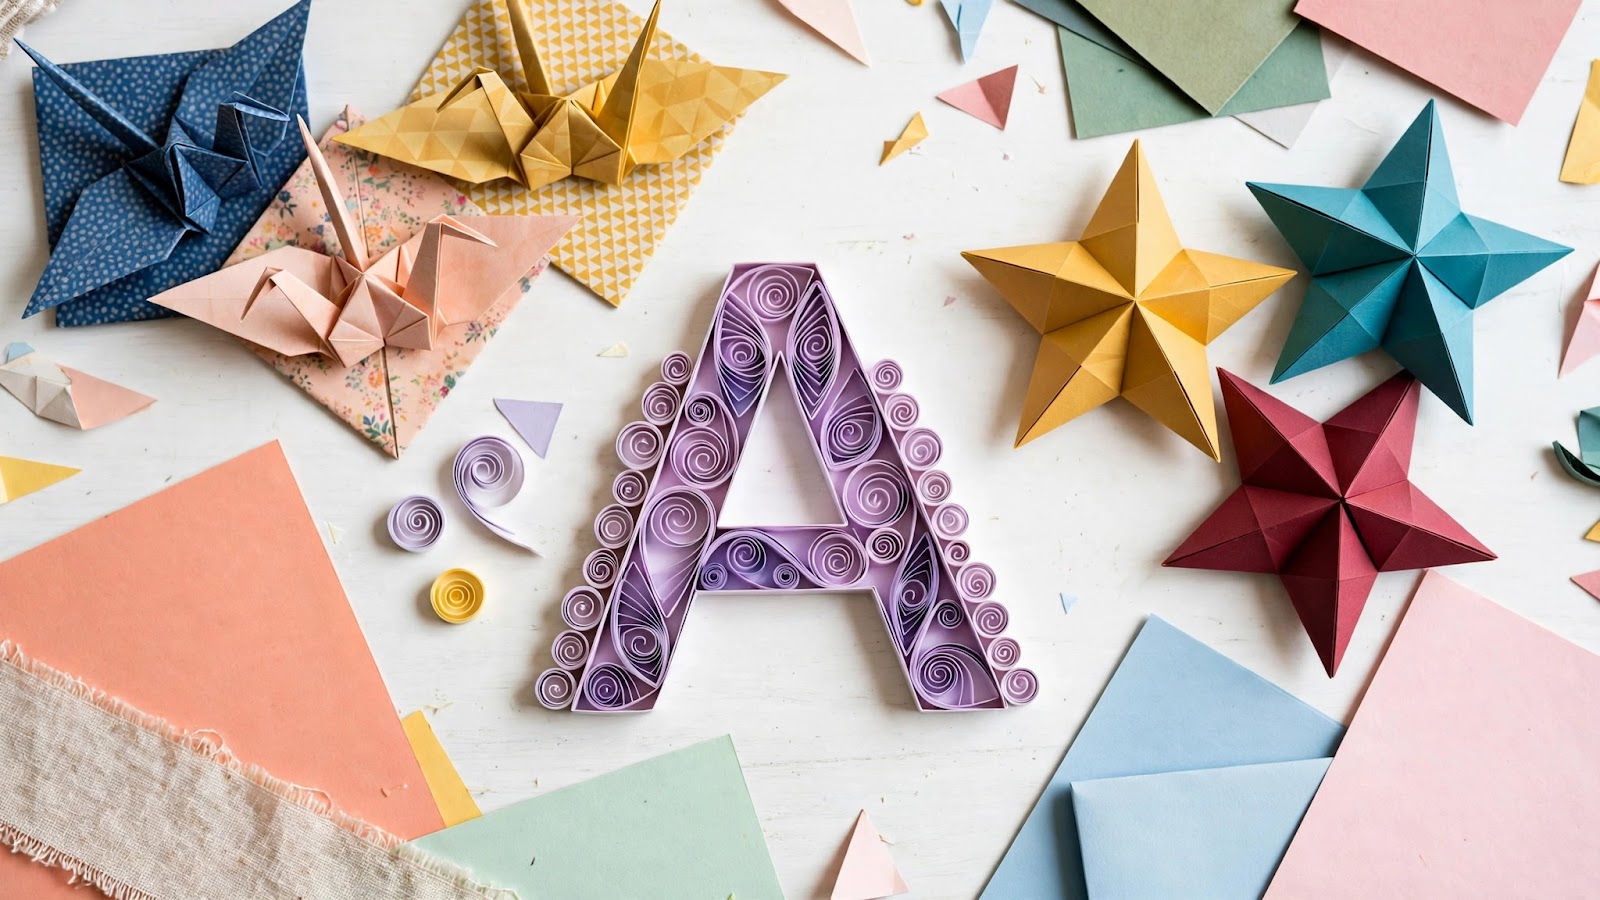
12. Origami crane and jumping frog
You need: square origami paper (or printer paper trimmed square).
- Start with the jumping frog - fewer folds, and it actually jumps when you press its back.
- Then attempt the crane, folding slowly and creasing every fold hard with a thumbnail.
- Make a mobile or a jar of cranes; origami rewards repetition like nothing else on this list.
13. Paper quilling monogram
You need: narrow paper strips, glue, a pencil or quilling tool, card.
- Roll strips into tight coils around the pencil, let them relax, and pinch them into teardrops and scrolls.
- Draw a big initial on the card and glue the shapes along the letter’s outline.
- Fill, dry flat under a book, and frame it - this one regularly ends up as a handmade gift.
14. 3D paper stars
You need: five or six square sheets per star, glue.
- Fold each sheet into the same pointed unit - accuracy matters, so measure and crease carefully.
- Glue the units edge to edge into a star.
- Hang a cluster at different heights with thread. Geometry that looks like a shop-bought decoration.
15. One-sheet comic zine
You need: one sheet of A4 or letter paper, scissors, pens.
- Fold the sheet into eight panels, open it, and cut the single short slit in the center fold.
- Refold it into a tiny eight-page booklet - mastering this fold feels like a magic trick.
- Draw a comic, a joke book, or a field guide to the family cat. Photocopy it and they have published their first edition.
Display it, store it, survive the paper avalanche
Finished work deserves better than the fridge door lottery. A string with clothespins makes a rotating gallery children curate themselves - old pieces come down when new ones earn the spot. Keep a simple portfolio folder per child for the pieces that matter, and photograph the rest before recycling; the photo keeps the memory without keeping the clutter. And when the craft drawer finally runs dry on a rainy Sunday, our roundup of educational toys for kids picks up where the paper leaves off. Next in this series: paper crafts just for toddlers, with the tearing and sticking projects expanded into a full list of their own.